BisTek
 BisTek
Application Lifecycle Management (ALM) is a method that is not very common for citizen developers. I wanted to introduced it in a simple manner in order for people to practice it.
ALM makes your deployment quicker and easier.
Warning: This demo is only to demonstrate a simple concept.
Advantages of Pipeline
- Stores automatically the data
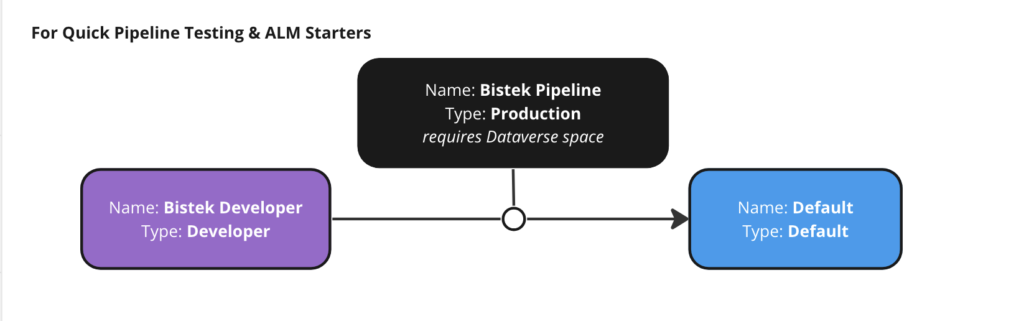
Requirements
- Dataverse Space – 5USD/Month
- Production-type environment
- Deployment Pipeline Configuration (DPC) app installed in Production type environment
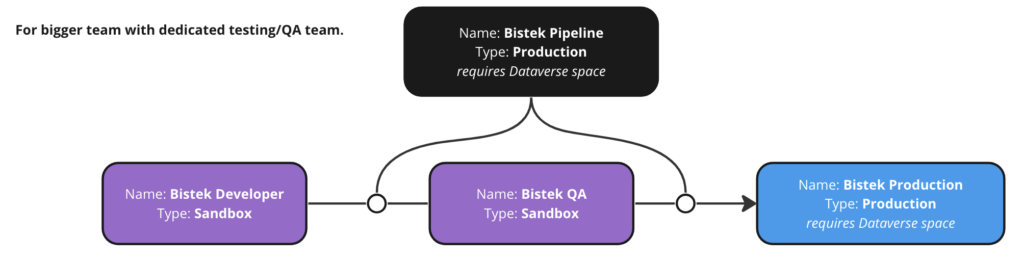
- Environments
- Default environment – will serve as Prod environment
- Developer-type environment – if working with a team, use Sandbox Environment
- Production-type environment – where you will install Power Apps Pipeline
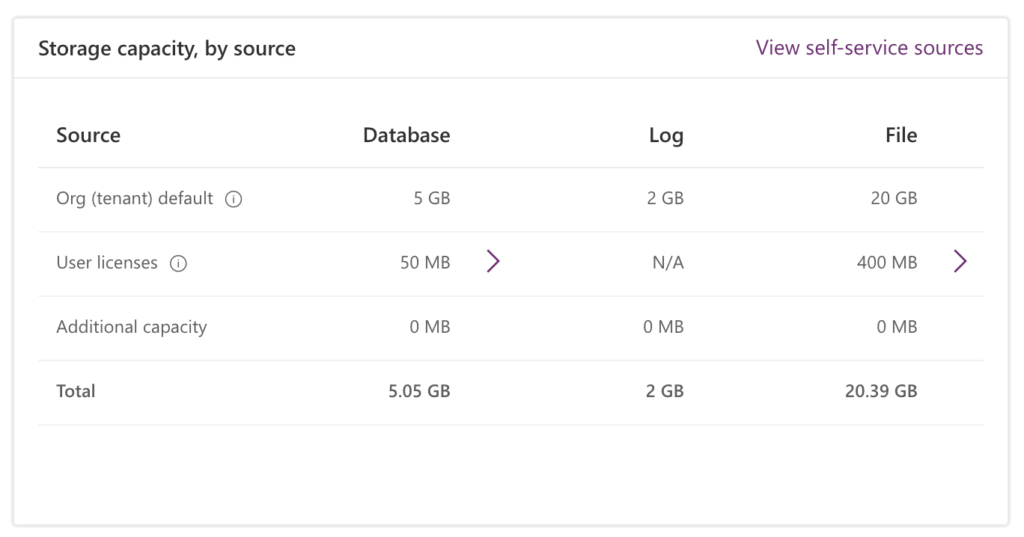
Dataverse Space
Purchase at least one license for any of the Power Platform, Dynamics 365 or Project Online product. The cheapest one I can recommend for now is Power Apps per App which is 5 USD / Month. Once you purchase this, your tenant will receive a 5GB Dataverse Capacity Entitlement.This post is sponsored by our partners Wigs
Production Environment for Pipeline
To utilize Pipeline tool, you must create a separate environment for it to run.
- Headover to Power Platform admin center (microsoft.com) in order to create a new environement
- Create a new Production environment with the following settings
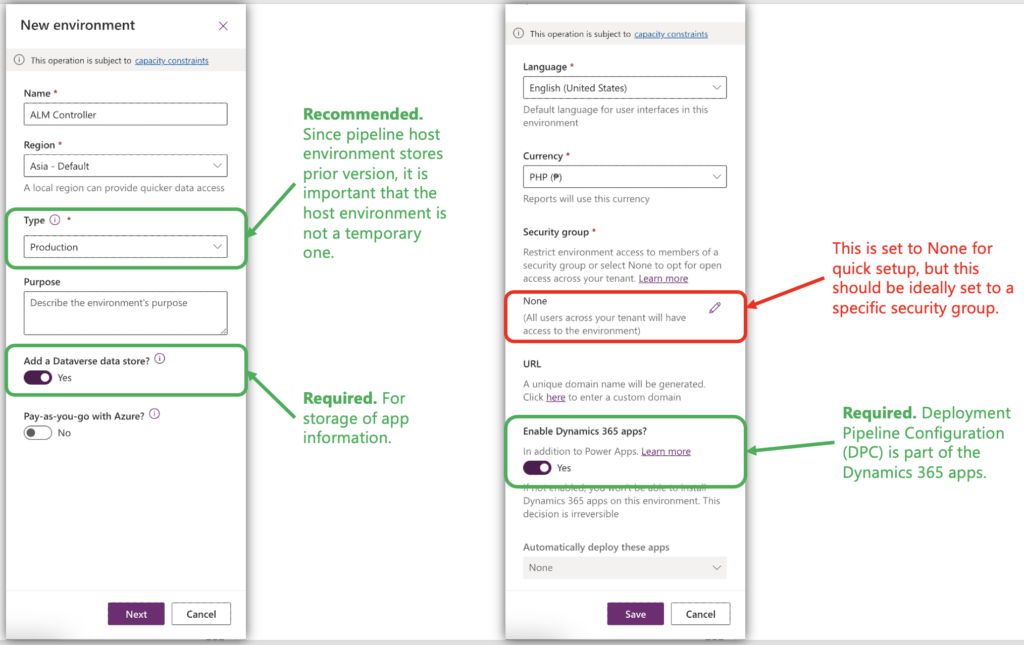
This is what we will be using for this demonstration
Ideal setup that you need to look at.